8 Simple Tricks To Take Better Photos With Your Phone
8 Simple Tricks To Take Better Photos With Your Phone: In the unending search for the best camera app, you may be tempted to ignore the camera application that comes by default on your smartphone and thus use something more advanced.
However, if you know what you’re doing you can get high-quality photos using just the default camera app that comes with your iPhone or Android. And here we describe how. We have focused on the default camera applications that include the latest versions of iOS and Android. If you don’t have the latest version of Android then also you will find this tips quite useful, as there is always the opportunity to download the official Android camera app from the Google Play Store.
Table of Contents
8 Simple Tricks To Take Better Photos With Your Phone
1) Know The Grids
Know The Grids
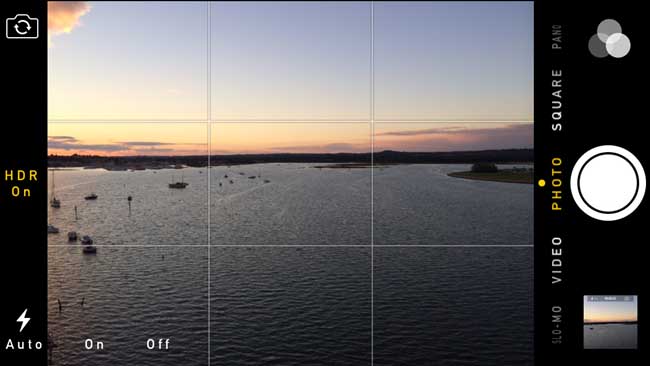
You only need to imagine what you see on the camera as if it were split into nine equal frames and keep the most important objectives in your photo between the lines and crossings of the pictures.
But with the Android and iOS camera apps, you do not have to assume those lines by yourself. On Android press, the menu button and there select “Settings”, then enable the option “Show grids”. In iOS go to Photos and Camera in the settings application and there enable the “Grid” option.
2) Find A Support
Find A Support
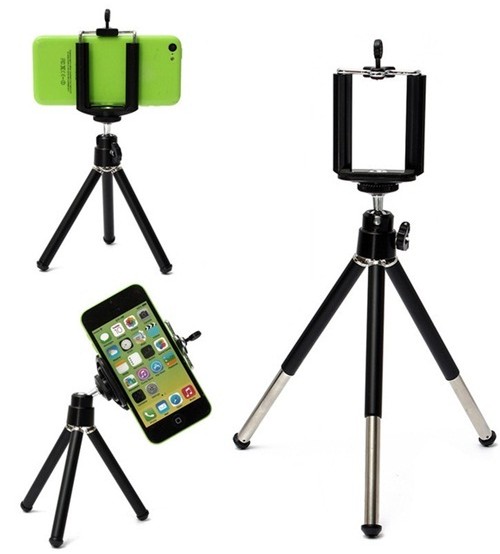
If you want to take quality photos with the mobile then it’s essential to have a firm hand, particularly in low light situations where the mobile will strive to capture as much light as possible on your lens. But if you want excellent results you can buy a supporter, like a mobile tripod.
If you don’t have a tripod you can use something different to keep your cell phone firm: a wall, a table. The timer mode on the Android and iOS camera is also a great option, allowing you to leave your mobile on a shelf or somewhere to appear in the photo.
3) Work On Focus
Work On Focus
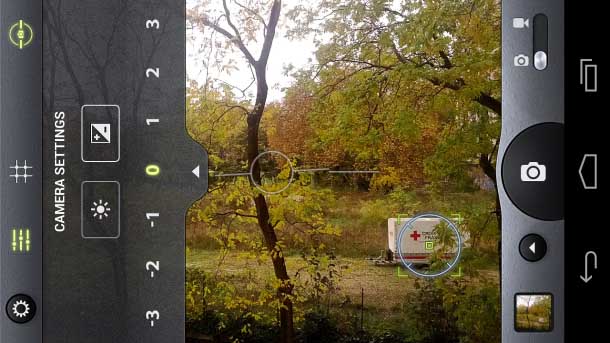
Whether you use an iPhone or an Android mobile you can tap anywhere on the screen to change where the focus of the photo is centered. This will also adjust the exposure level to match the place you have chosen, so it is a very helpful way to illuminate a dark area (or darken a very bright).
Those who have iPhone can even hold that site on the display to block changes in focus and exposure so that it stays fixed even if the mobile moves. You can also hold down and slide your finger up and down to manually adjust the exposure level.
4) Use The Physical Button
Use The Physical Button
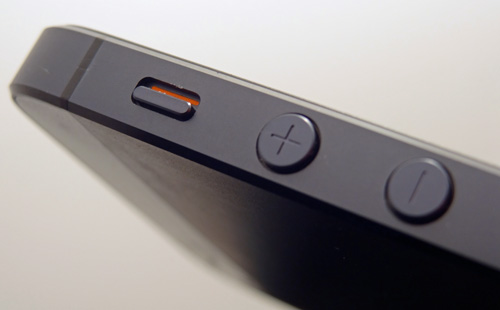
Talking about holding your cell phone firm, trying to hold your cell in a palm and then press a digital button in the middle of the screen is not simple, and can cause your mobile to move just at that time you were taking the photo.
The answer is to use the physical volume buttons to take the photo rather of the digital button to take photos (this trick works on iPhone, Nexus mobiles, and most Android terminals). It will not always be the best option to take photos but it is absolutely a beneficial alternative in many situations.
5) Automate The HDR Mode
Automate The HDR Mode
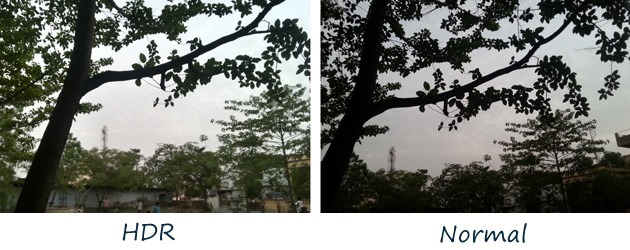
The latest versions of the iOS and Android camera applications adds an HDR mode that applies a high dynamic range filter when the condition requires it. You can see a button on the screen to enable this feature.
The HDR in mobile photography has to do with keeping the dark and clear parts of your image in stability (which means that a bright sky will not completely kill a dark landscape).
6) Take Advantage Of Artificial Light

Take Advantage Of Artificial Light
If there is something essential for a photo is that your objects or subjects look good, so you have to be very mindful of the light sources you add, be it the rays of sunlight or the neon lights of a bar.
There is no tip or technique that applies to all circumstances, but we do recommend that you make sure that everything you try to photograph is seen in the photo as best as possible.
You can even try changing the angle of a subject, finding other areas or even waiting for another time of day before taking a photo.
7) Photo Bursts
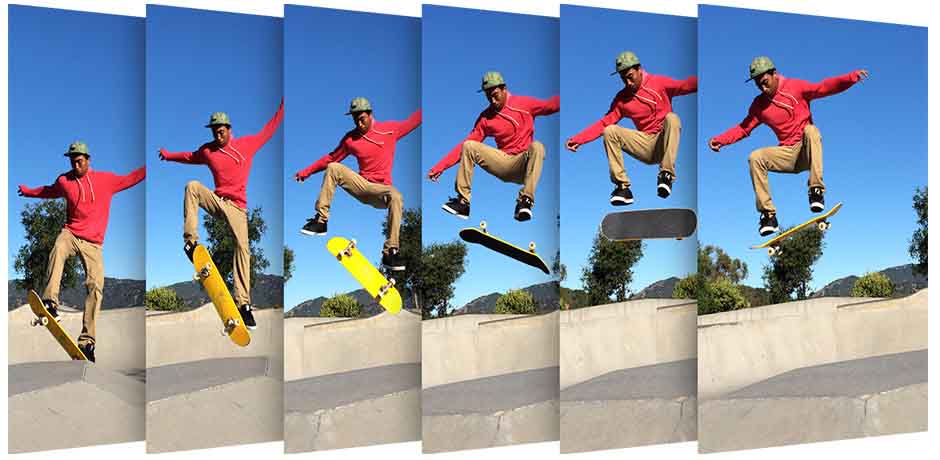
Photo Bursts
The default Android and iOS cameras have a burst mode you can use. If you do not trust that you can take the best shot in a single shot, the best thing you can do is take several photos immediately and then choose which one is best for you.
8) Clean the lens
Clean the lens
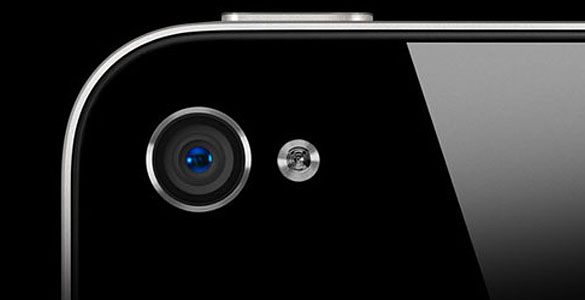
Let’s not forget one of the most fundamental aspects of taking pictures with your mobile (or any camera): any small spot on the camera lens will conflict with your photo in a really remarkable way, so it is more than prudent to keep this part of your smartphone as clean as possible.
These are the few simple tricks which you can implement today if you want to capture better photos using your smartphone’s camera. Hope you like the article, share it as much as possible.

