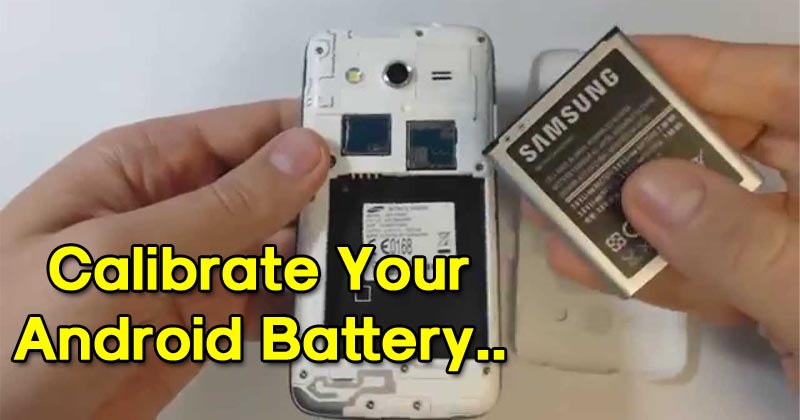
How To Calibrate Your Android Battery To Improve Its Life
How To Calibrate Your Android Battery To Improve Its Life: If you have a rooted Android smartphone, then you will know the pain of battery draining. Whenever we install a new ROM or update our phone, we face some major battery draining problem. Therefore, in this article, we have decided to write how to fix your mobile battery and increase the life of your battery from calibrating.
Every Android device comes with a built-in indicator that records the level of a mobile battery. However, due to some updates, malware the built-in indicator breaks its rhythm which causes the battery to drain much faster.
Related: Phone Charging Slow? 5 Awesome Tips To Charge Your Phone Faster
Table of Contents
How To Calibrate Your Android Battery To Improve Its Life
Calibrating your Android battery is the best way to fix the battery draining problem. Here in this article, we are going to show you two working methods, one for rooted devices and another one is for non-rooted.
Here’s how to calibrate your Android mobile battery.
For Rooted Android Devices:
1) Download and install Battery Calibration app from Google Play Store and launch the app.
2) Make sure you have granted the required permissions. Now tap on the calibrate button and grant the root access.
3) Now restart your Android smartphone and use it normally until it reaches 0%. Then again charge your phone until it reaches full 100%.
After that, you will have the correct reading on your Android device.
Related: How To Increase Battery Life Of Your Android Smartphone
For Non-Rooted Users:
1) To start, make your Android battery to discharge until it goes off due to low battery.
2) Charge your Android battery until it reaches the 100% limit. Make sure you don’t tun on your device while charging.
3) Now unplug your charger and turn your Android on. Leave it for 30 minutes (Don’t use in that time frame)
4) Charge your smartphone again and this time make sure you have charged for more than 45 minutes. Don’t charge for long (1-hour charge will be best) and also make sure you don’t use your device while charging.
5) Unplug your device and use it normally until the battery is drained again. Then charge it again until it reaches the 100% limit.
This will fix the battery drainage problem. However, for non-rooted users, there’s no guarantee that the above method will work or not as it depends on the smartphone.
Related: 6 Ways To Make Your Smartphone’s Battery Last Longer
This is how you can calibrate your Android device battery using some simple methods. Hope you like the article, share it as much as possible.


