
Random Access Memory or you can say RAM is the memory of our device which performs almost each and every process. RAM plays a fundamental role in a computer by improving the overall performance of the system.
We always want more and more RAM on our computer. However, if you have 2GB or 1GB RAM on your system then here we are going to describe a working method which can be utilized to increase the RAM.
How To Use Pendrive As RAM In Your Windows Computer
The method we are going to describe will increase the RAM temporary, not permanent. Users just need to have a USB flash drive which can be used as a portable RAM on the computer running on Windows operating system.
You can improve the speed of your computer with the help of a normal USB flash drive by following these mentioned steps. You need to have a USB flash drive of at least 4GB to increase the speed of your Computer
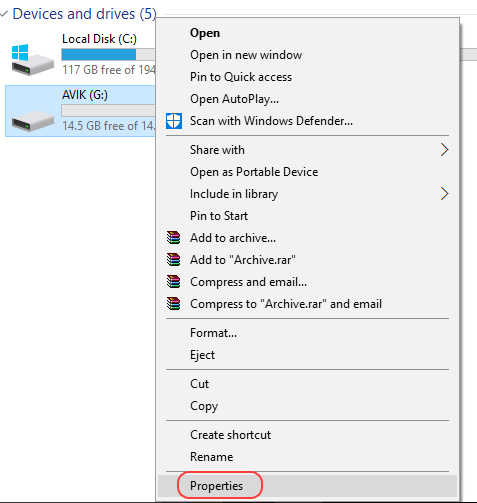
1) You need to plug in your USB flash drive to your computer and then right click on the Pendrive and then select the option ‘Properties’
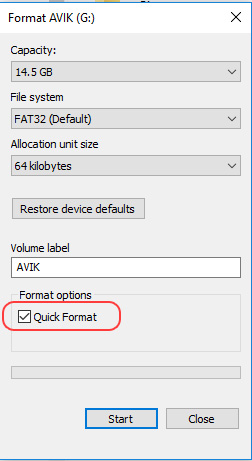
2) Now you need to format your USB flash drive. Simply Right click on the Pendrive and format it.
3) Now again right click on your Pendrive and then go to the option properties and select the option ‘Ready Boost’
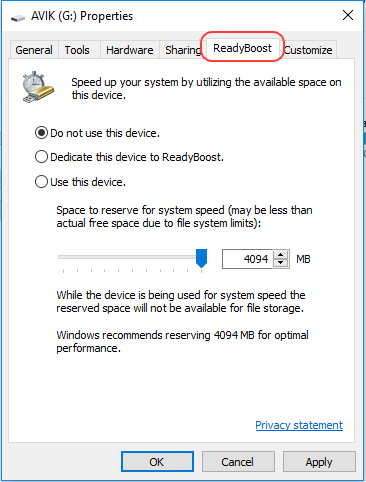
4) Here you will see three options ‘Do not use this device’, ‘Dedicate the device to ReadyBoost’ and ‘Use This Device’. You need to select the option ‘Use This Device’
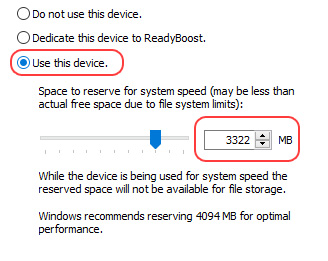
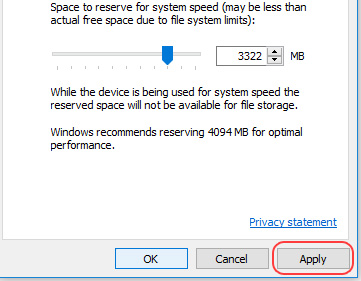
5) Now you need to select the size which you want to use it as a RAM. Here you need to keep at least 400-500 MB of free space while adjusting the size of memory and then click on ‘Apply’
This is how you can use your Pendrive as a RAM memory. You need to restart your computer after following 5 steps mentioned above. If you are facing the issue at any of the steps mentioned above, then you can ask us in the comments below!